Make me some street. However but quickly!
When working with our clients on architectural competitions we are often asked to quickly represent urban ambiance. How to show that many illuminated interior spaces without making crazy 3d modelisation of all spaces? Moreover most of this projects are only in very “rough lines” before the competition deadline. We get often only some “urban scale resolution” of project but the renderings expected are much more detailed. We want to share our easy know-how with you how we proceed. This is very easy way and tutorial which everyone with basic Photoshop knowledge can follow!
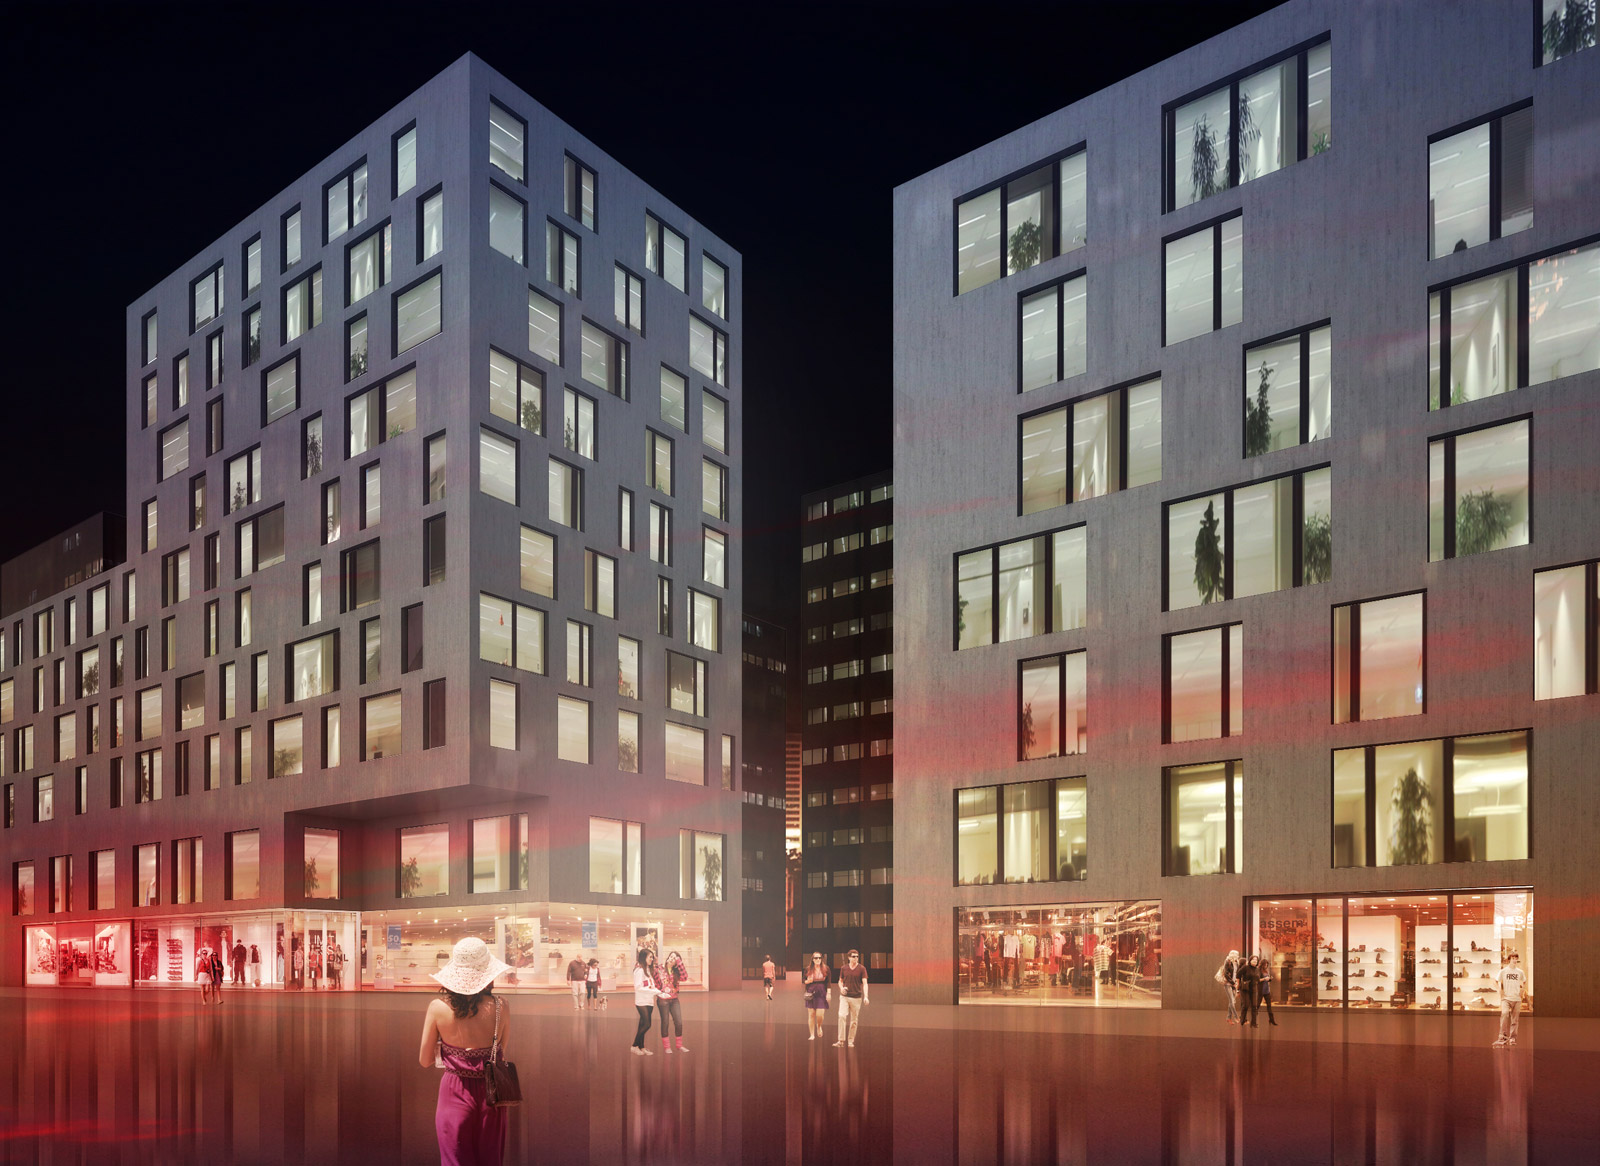
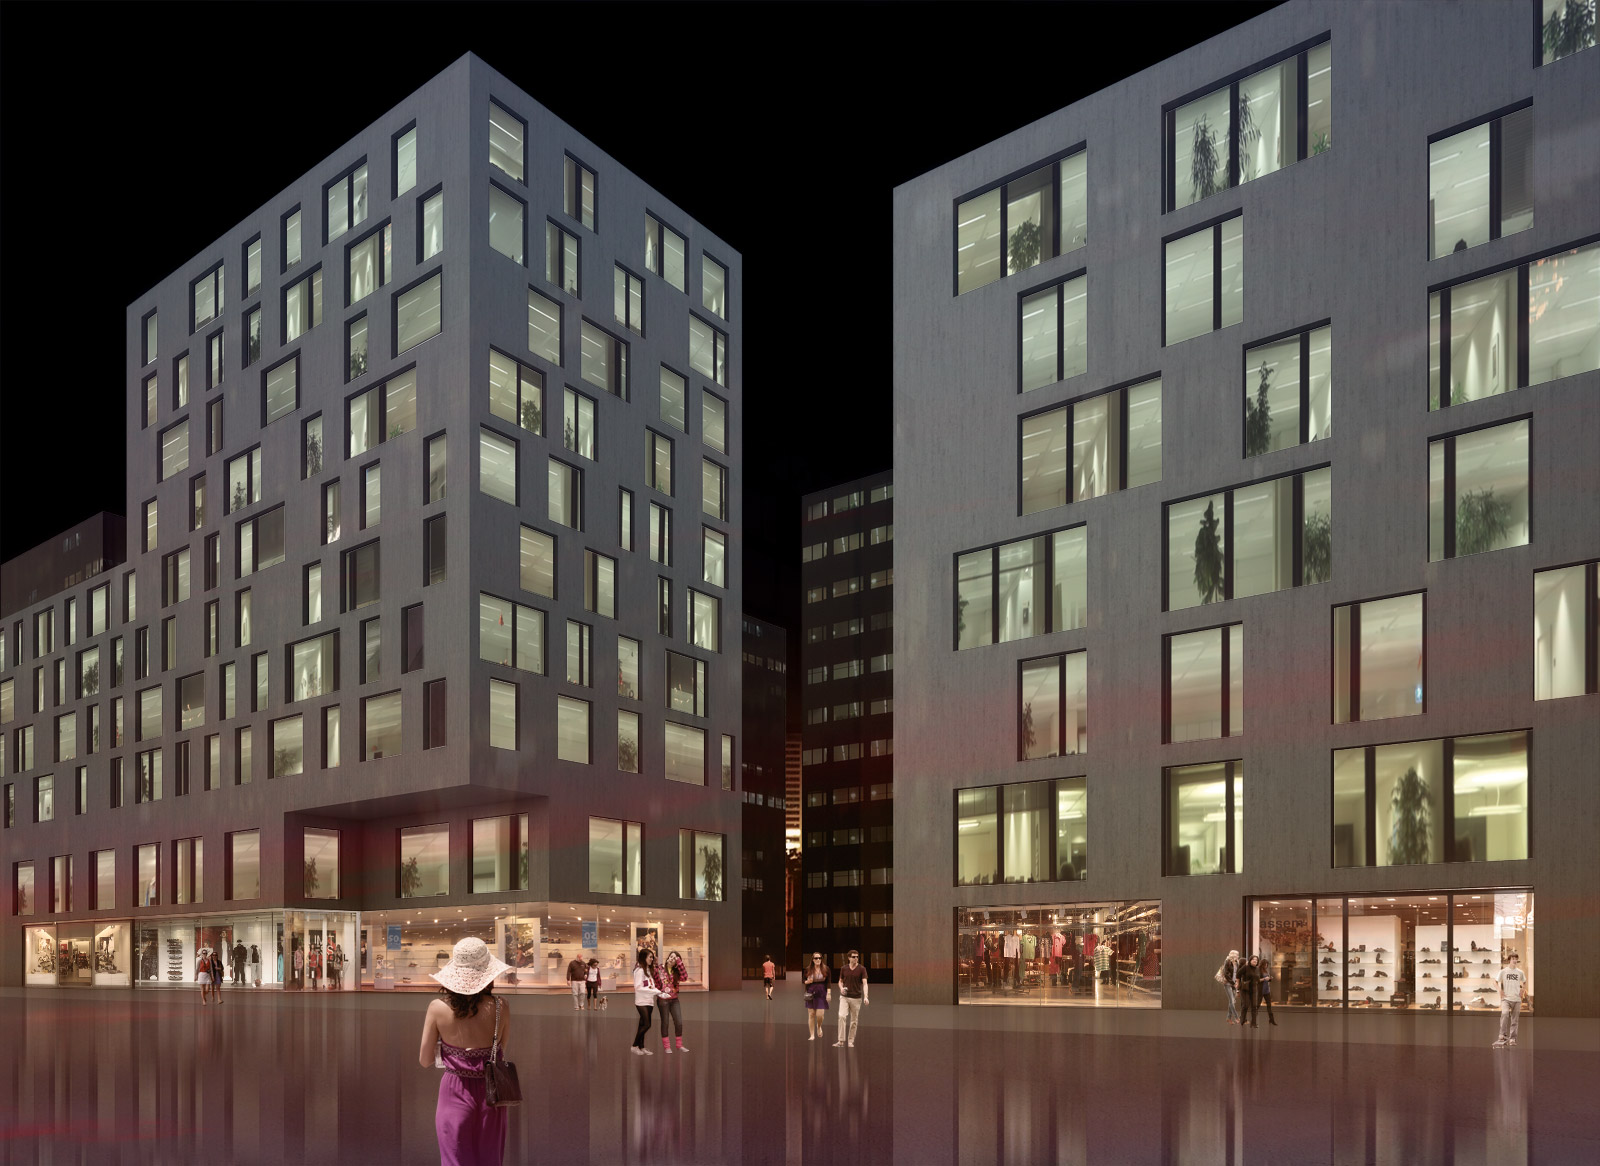
Lets say we want this and we got one afternoon (or less) to do it:
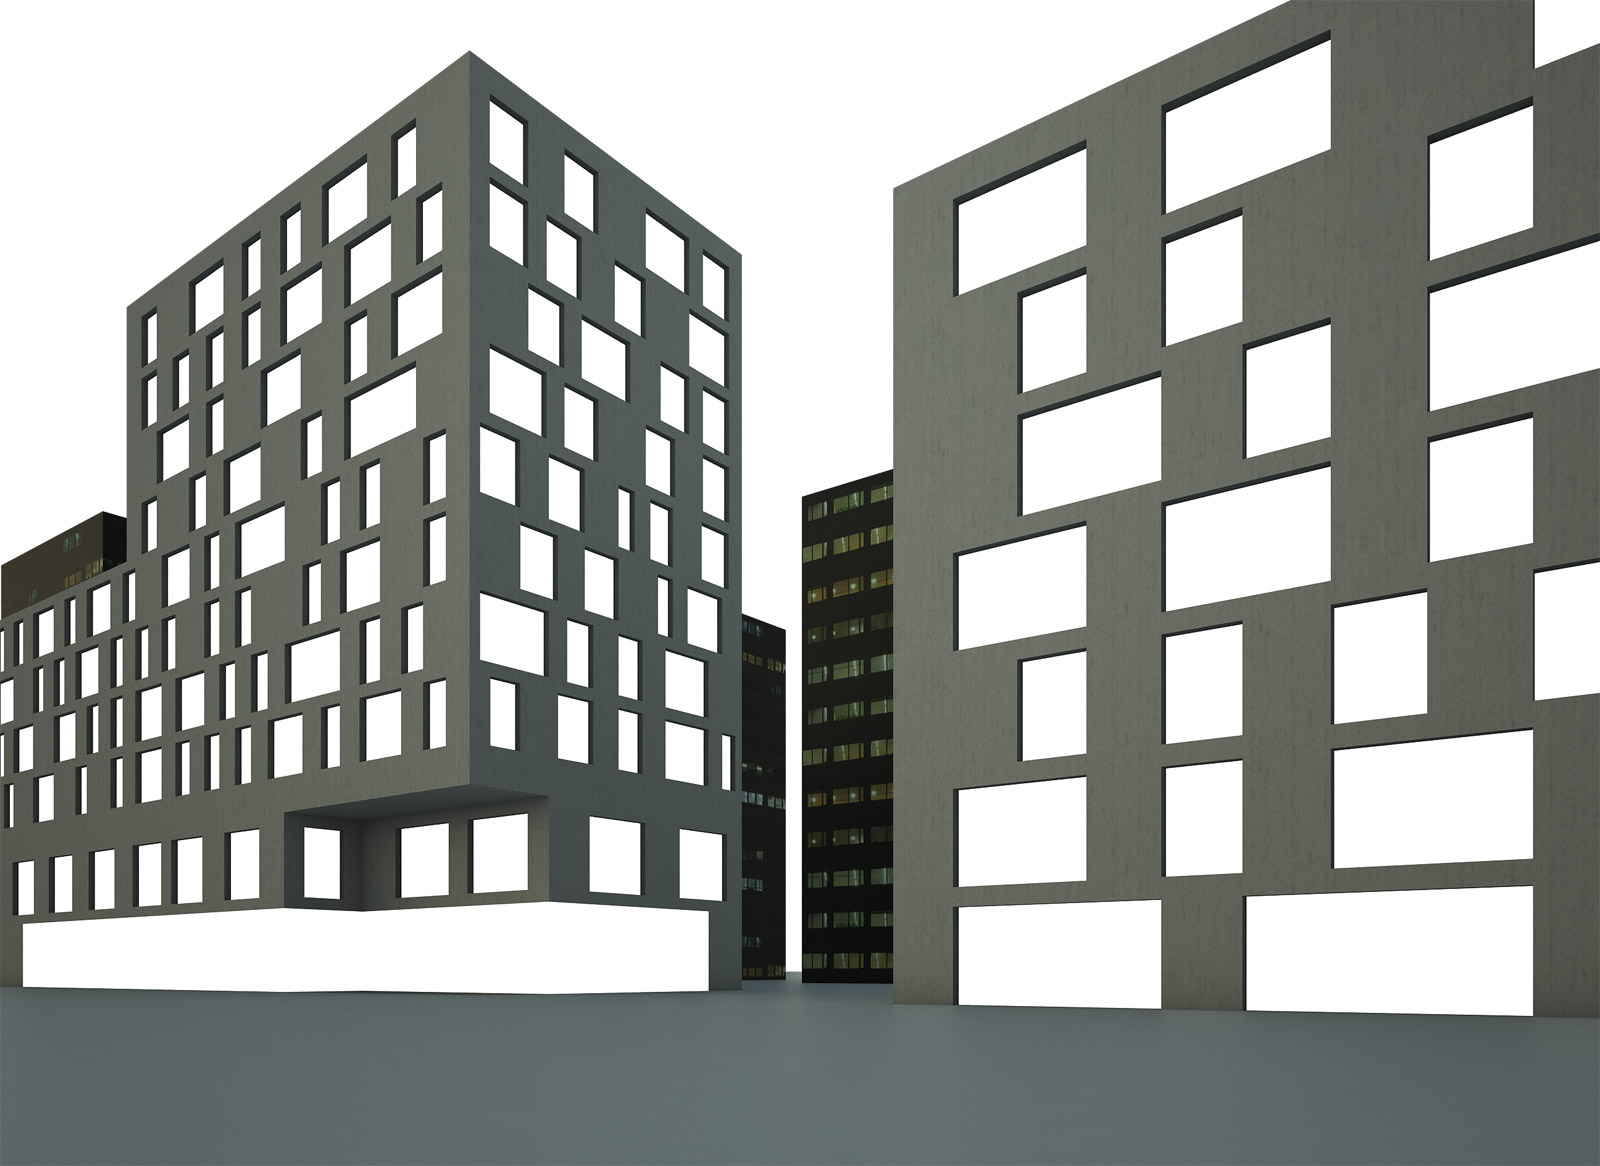
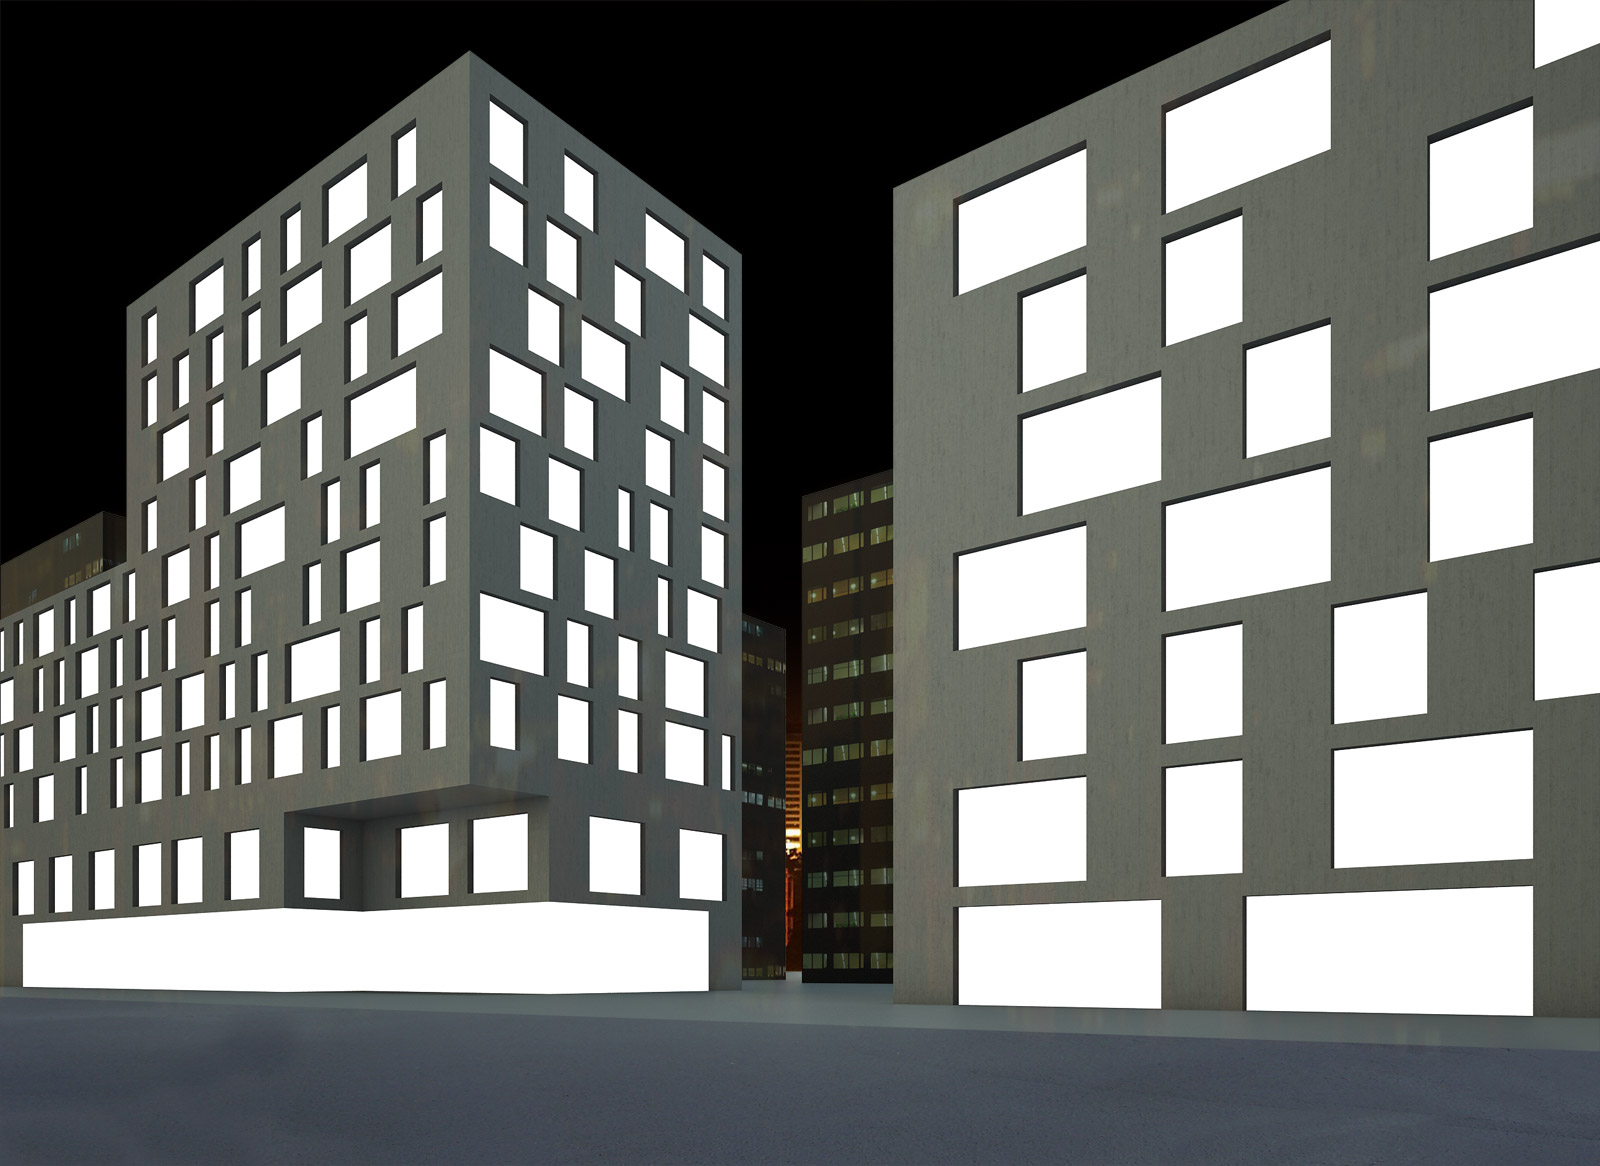
Ok, let´s start with quick modelisation which shouldn´t take more than one or two hours. From 3d MAX, Sketchup or whatever you use you can get something very simple like this: Don´t forget to save your Alpha channel transparency (to be able to place background without cropping the original rendering)! TIFF or PNG format is fine.
To save time all the rest is done in Photoshop. We want to quickly make evening city ambiance. Plenty of reflections, wet street after rain. First of all we make the background dark, we place some picture of night urban panorama behind our buildings. We apply some basic asphalt texture on the road.
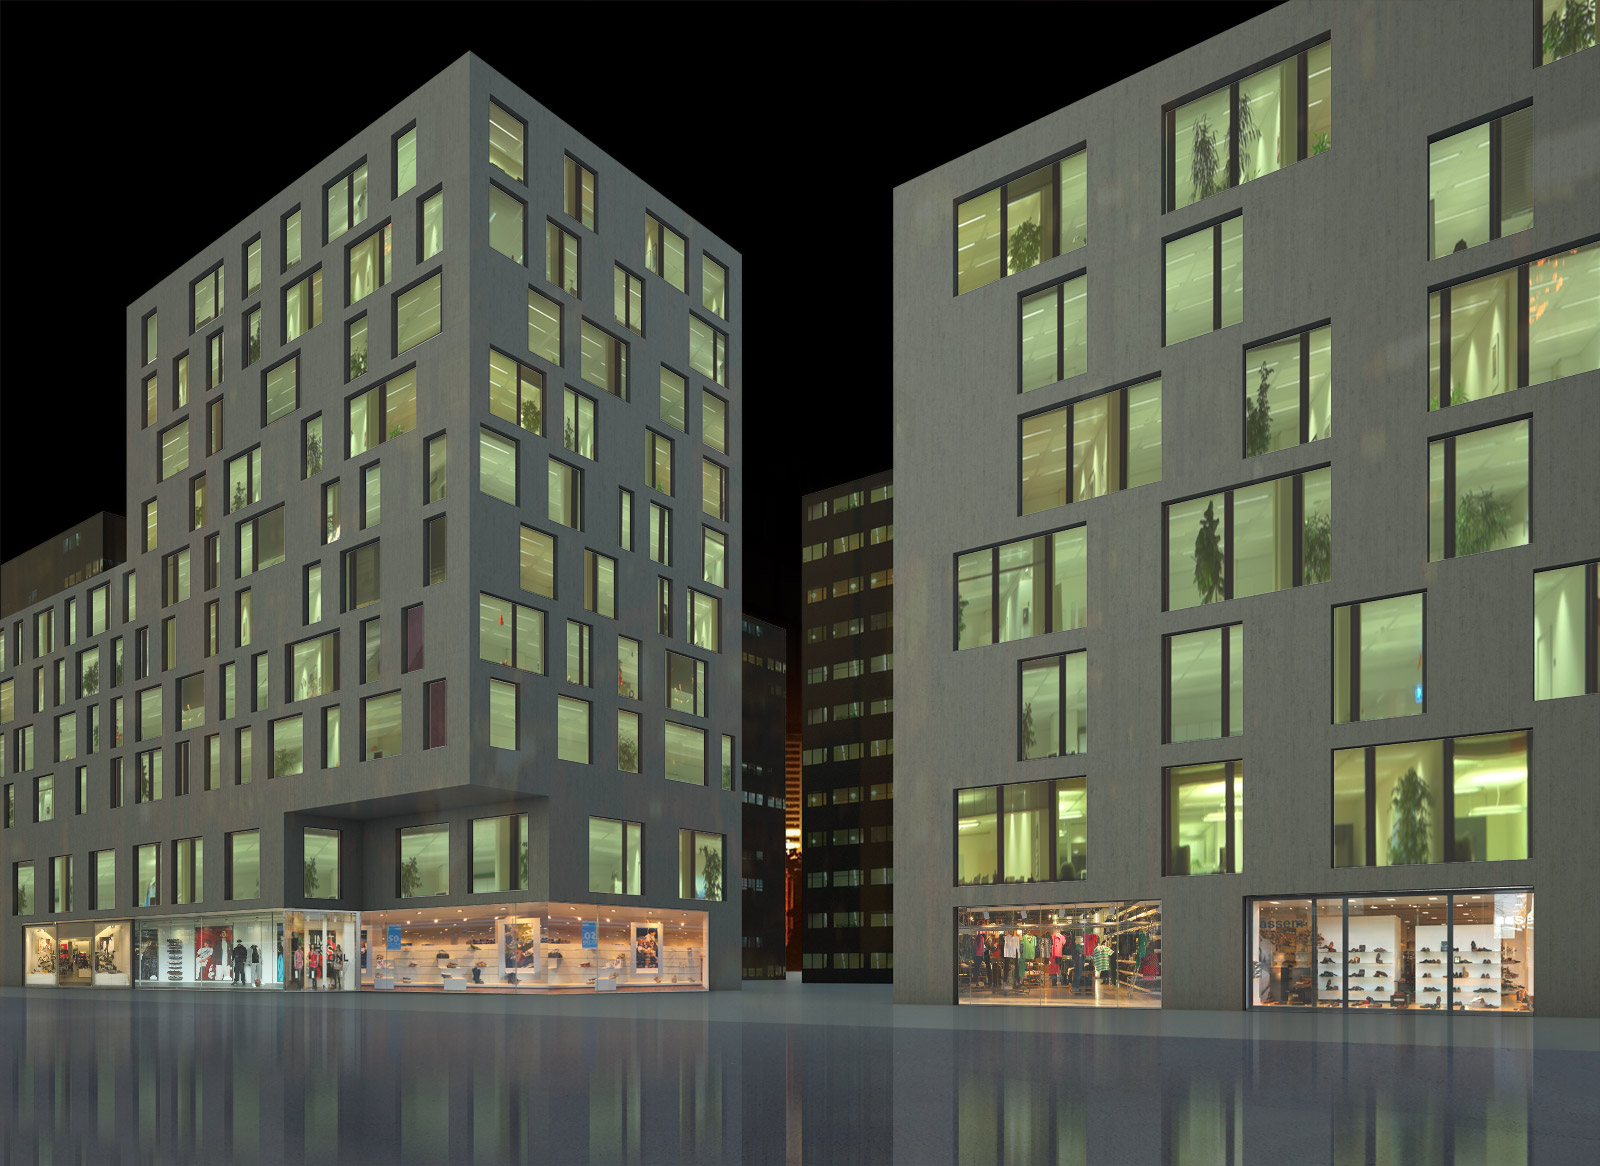
Now the very essential part how to add depth in the interiors. We got to www.cgtextures.com and search for some night building facade shots. Then we apply texture using distort/ crop tools in Photoshop – window by window. It is important to care about fine perspective. If you find interiors too present, reduce a bit layer opacity. We duplicate this layer, flip vertically, move downd and add some blur/motion blur so we get first reflections on the street. It is possible you will need to adjust perspective of this reflection layer to fit well.
Add some human scales. Watch out to keep the same horizon line for all of them. Maybe you will need to reduce/ grow saturation of this cutout people. By the way – you can use this cut-out figures for free www.easyentourage.com/archive . Then merge them into a single layer, duplicate, flip vertical, move down, use some motion plur and reduce oipacity. You get their reflections on the street.
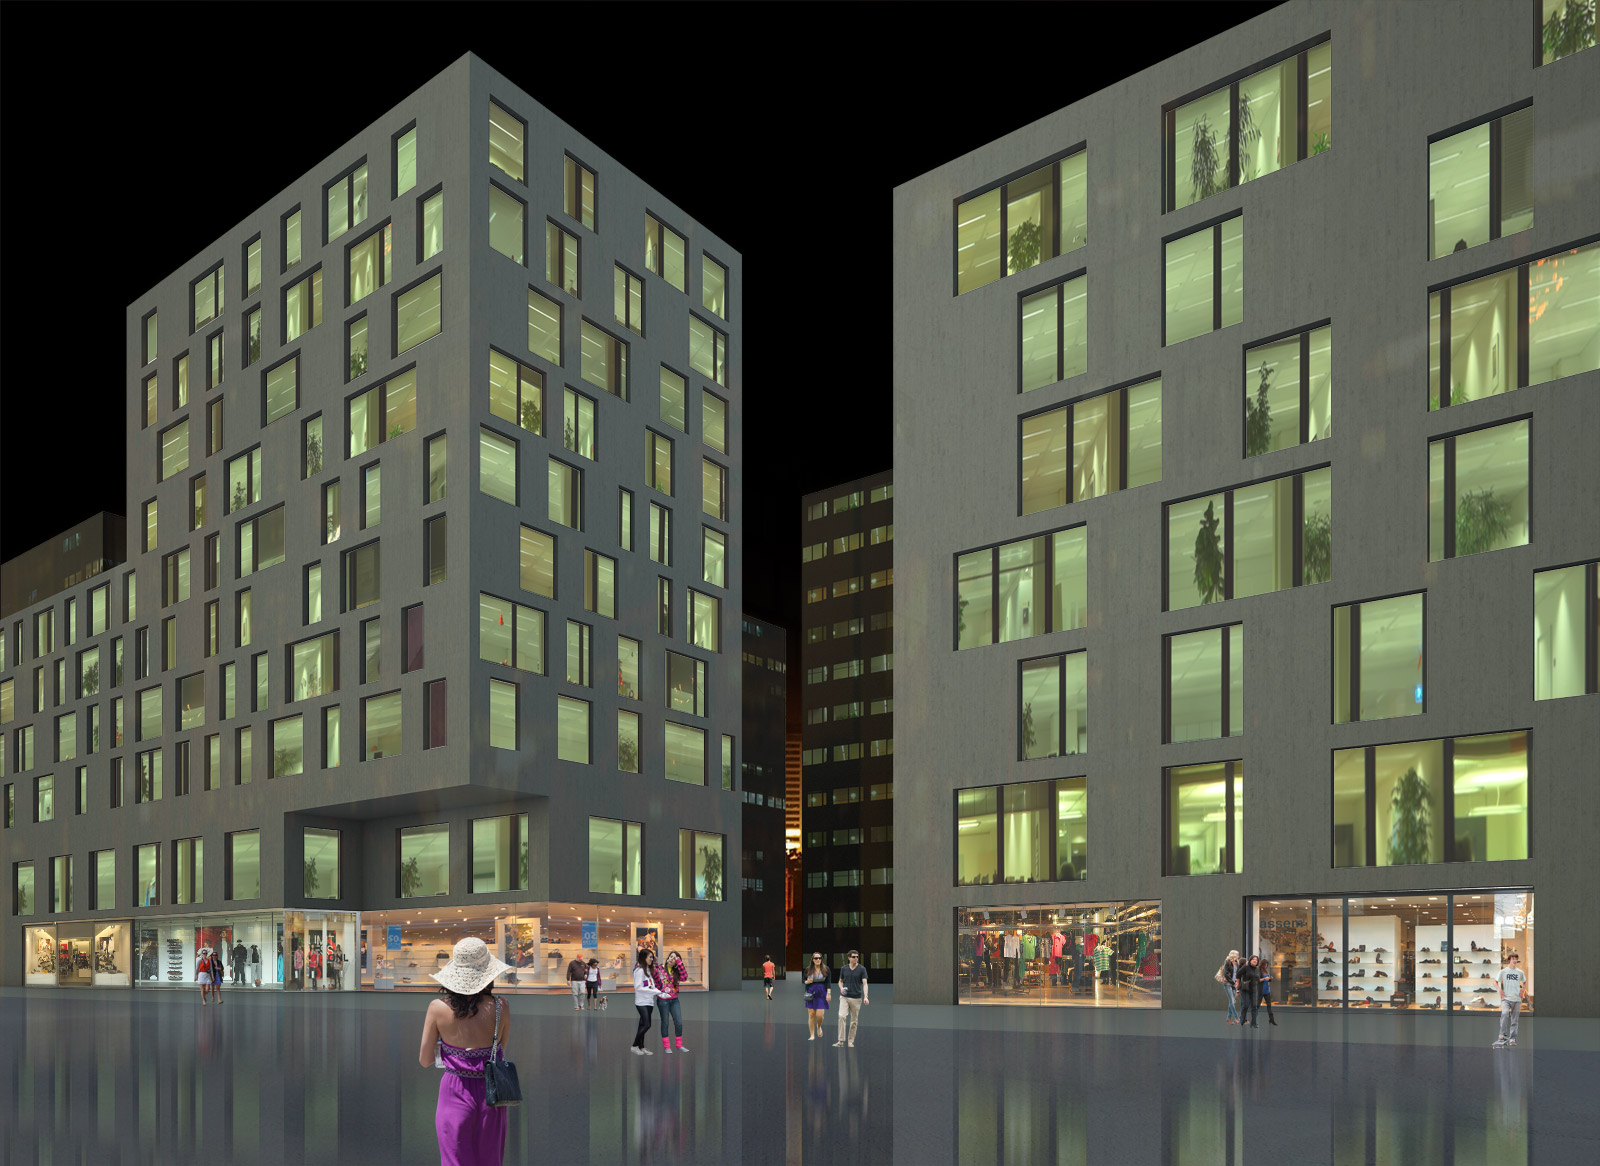
Now we grab all layers, duplicate and merge them in one single layer which we leave as top layer. We can use some Gaussian or Motion Blur. Then we choose the layer opacity to some 40-50% using Overlay or Soft light mode instead of “Normal”. This bring more depth and contrast.
On top of this layers we place (for example) this dusk wallpaper.
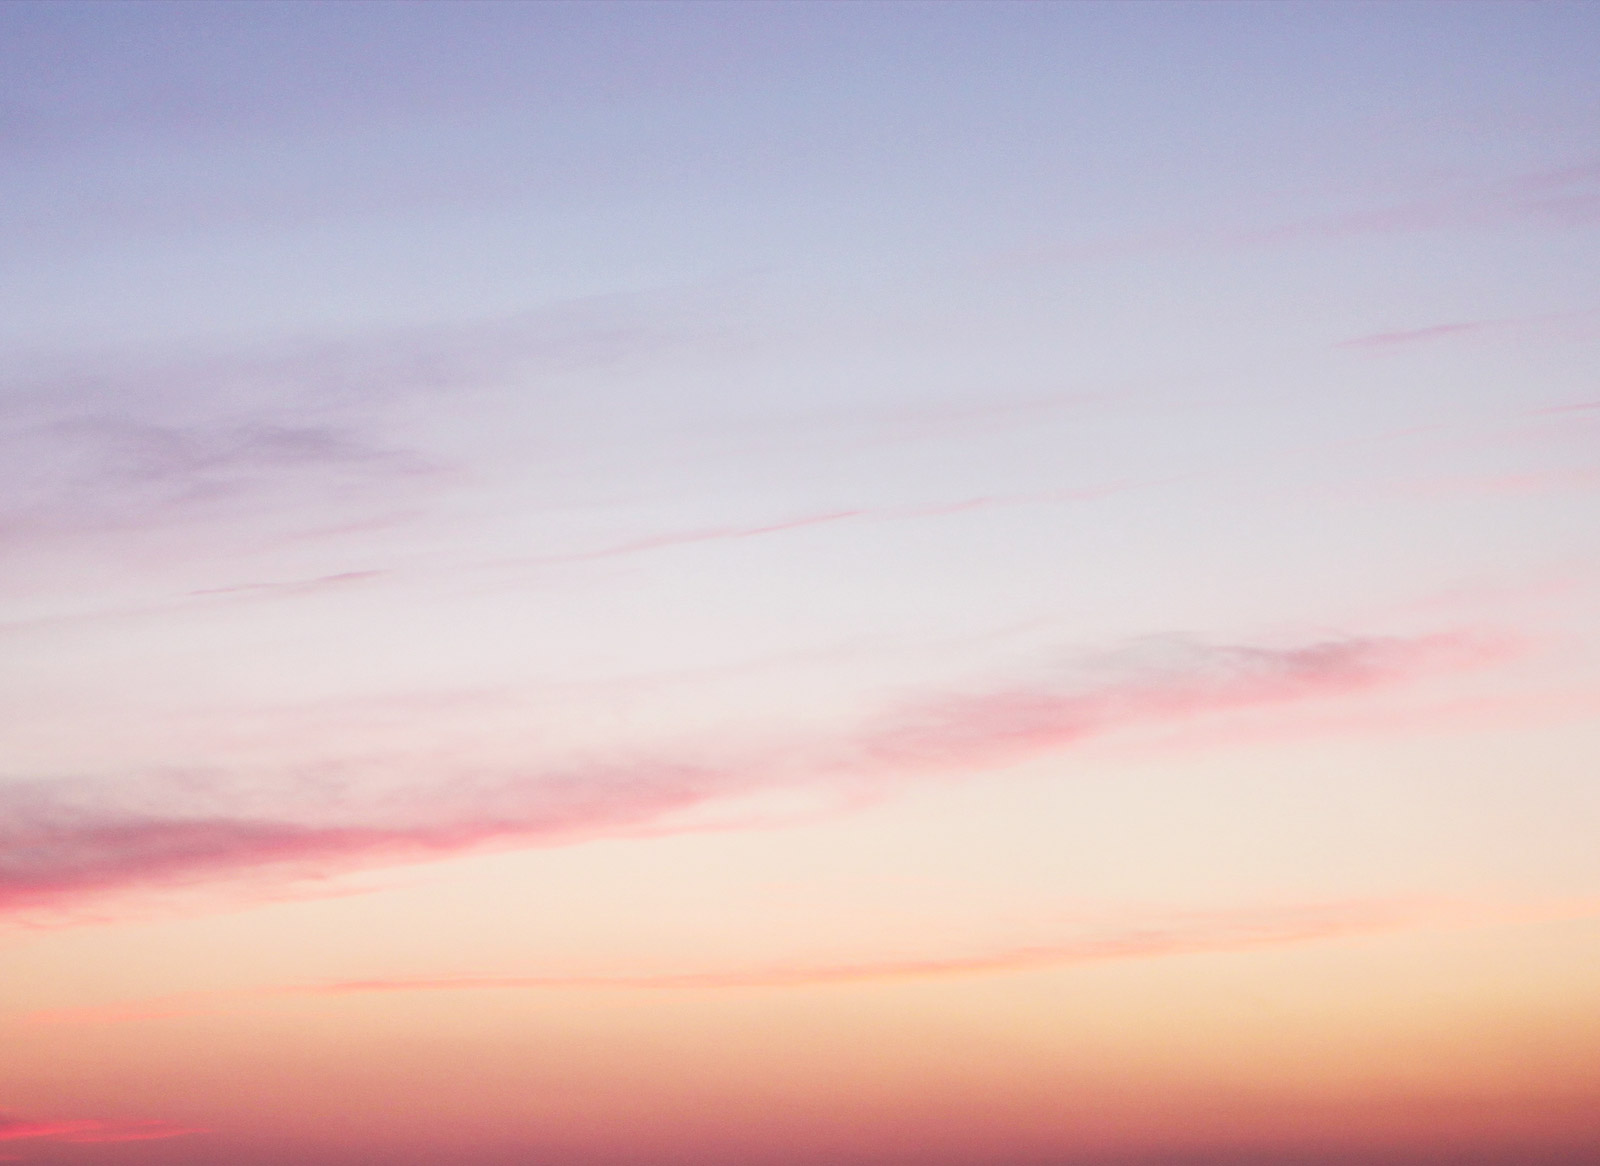
You turn opacity of this layer to some 55% and choose “Color” in layer opacity properties. This step brings gentle colour tint to the rendering.
Once again duplicate the dusk wallpaper layer and change its opacity mode to Overlay with opacity of 70%. It will bring contrast and brighntness.
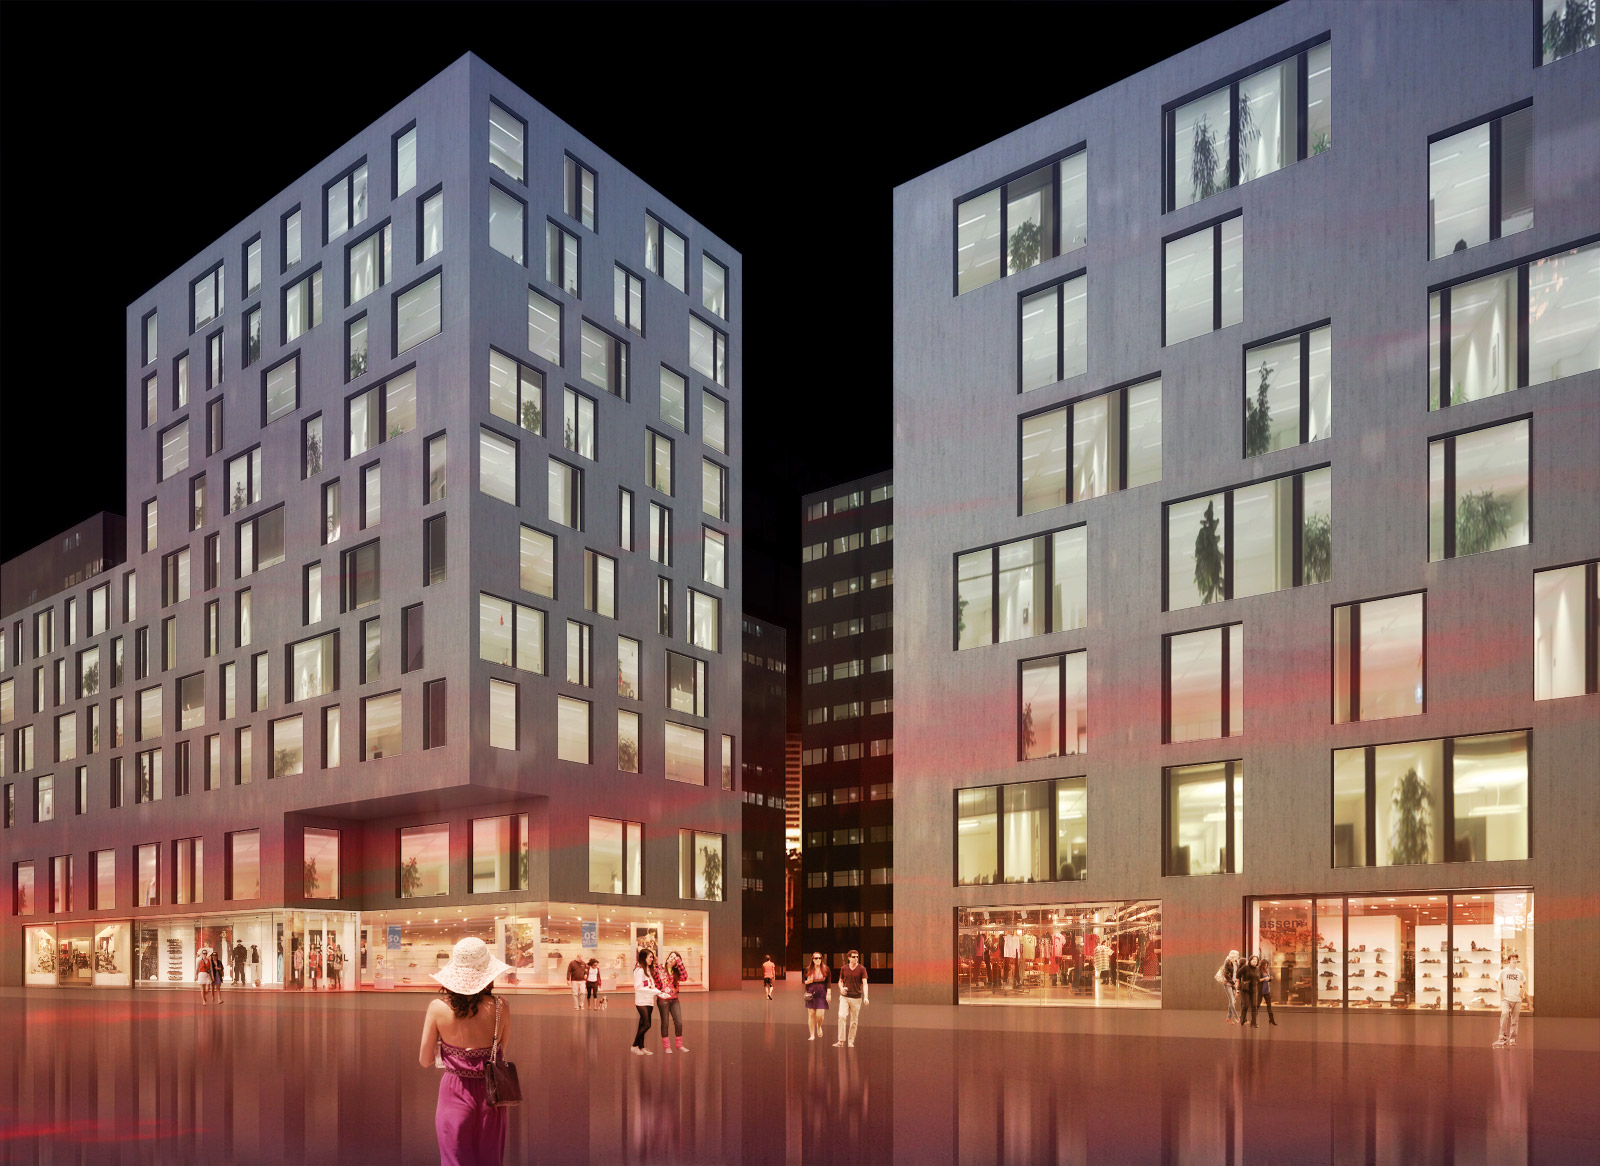
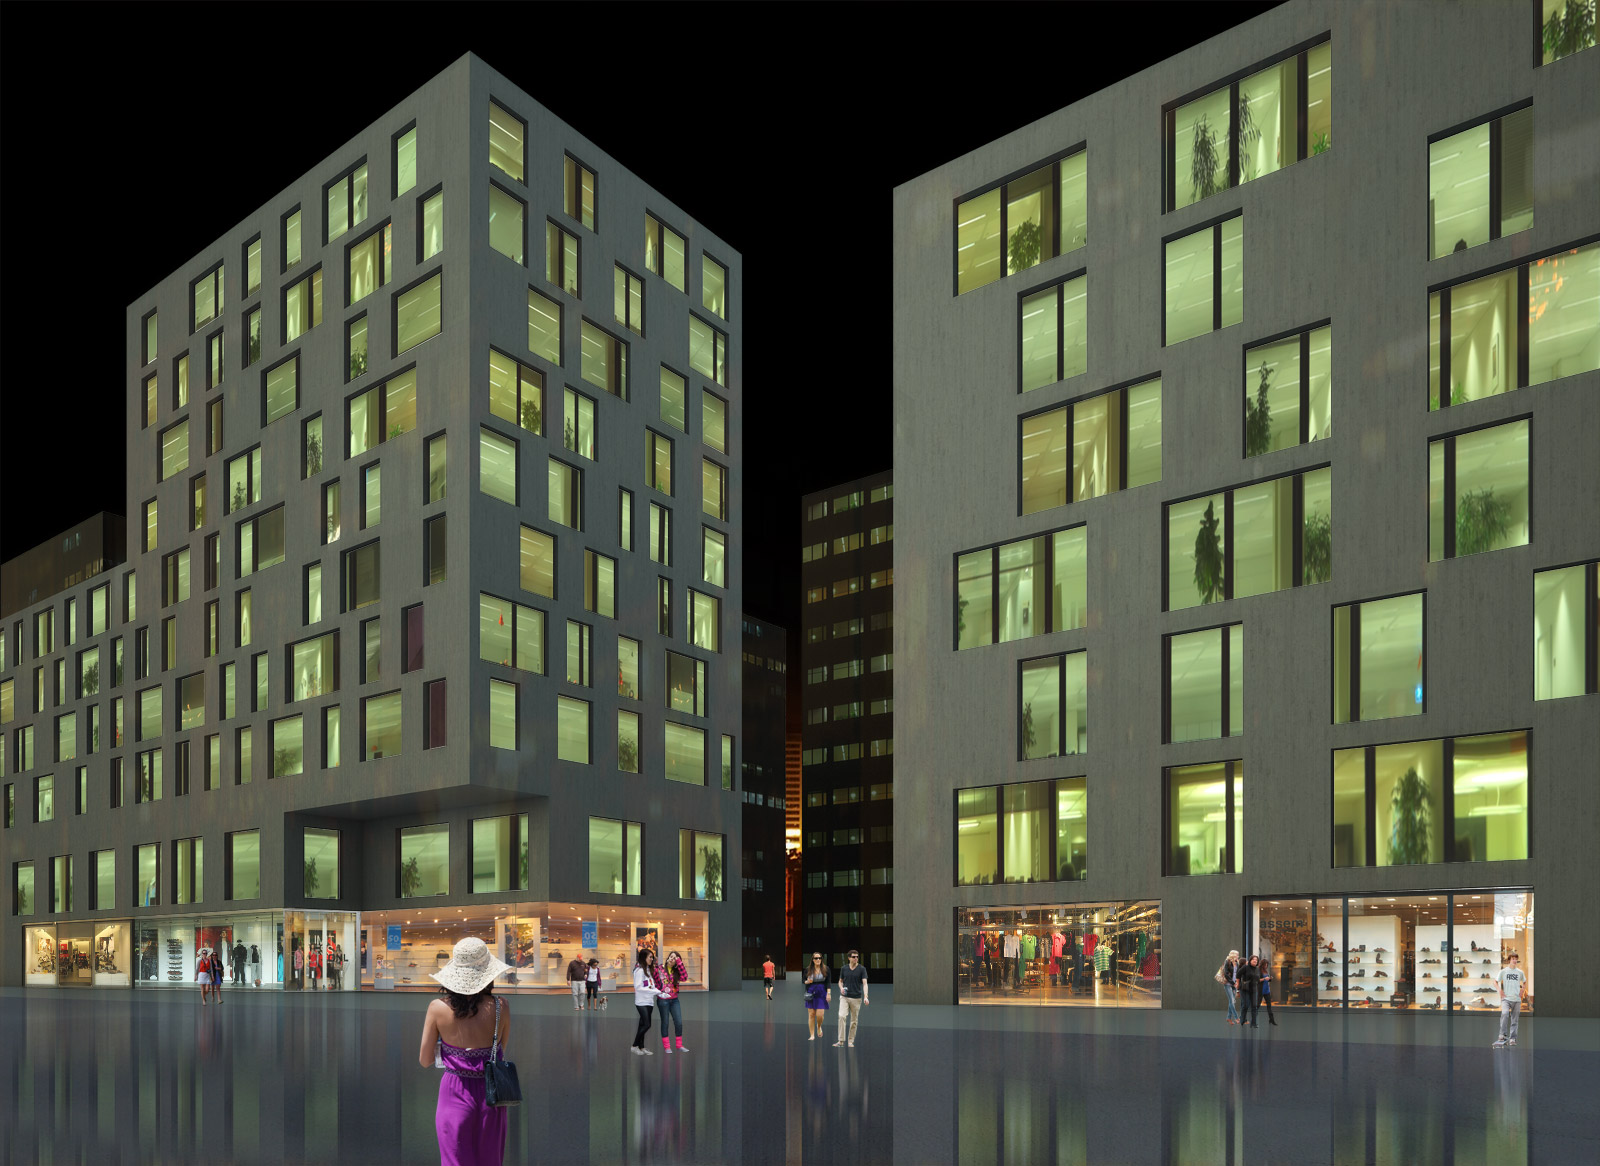
Using some very smooth brush with opacity (strength) in between 5-20 you can paint with various colours on top of the rendering. This way you can attract attention to some point of the perspective. We used spot red colour in left and clear white brush in the center of the rendering. We keep opacity mode of this layers “Normal” (although you can turn it to Overlay, Colour and so on).
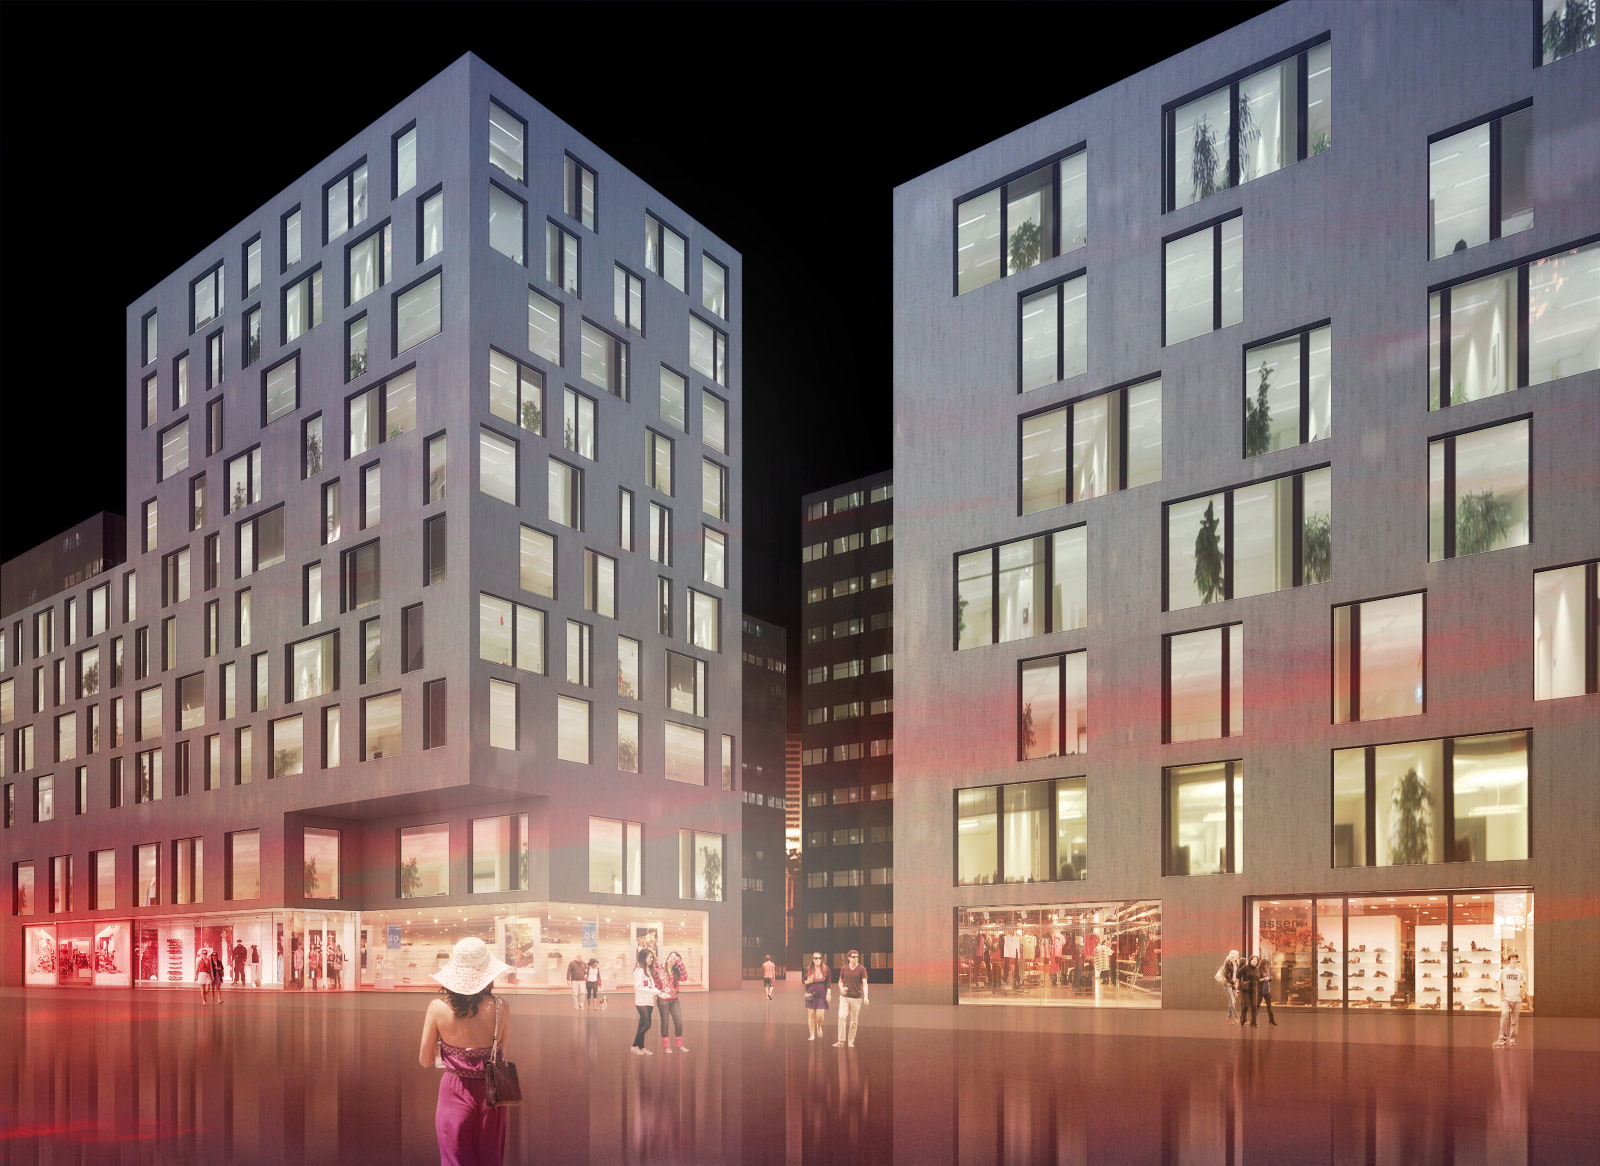
We are almost there! As an option we can yet increase contrast using Levels adjustment layer.
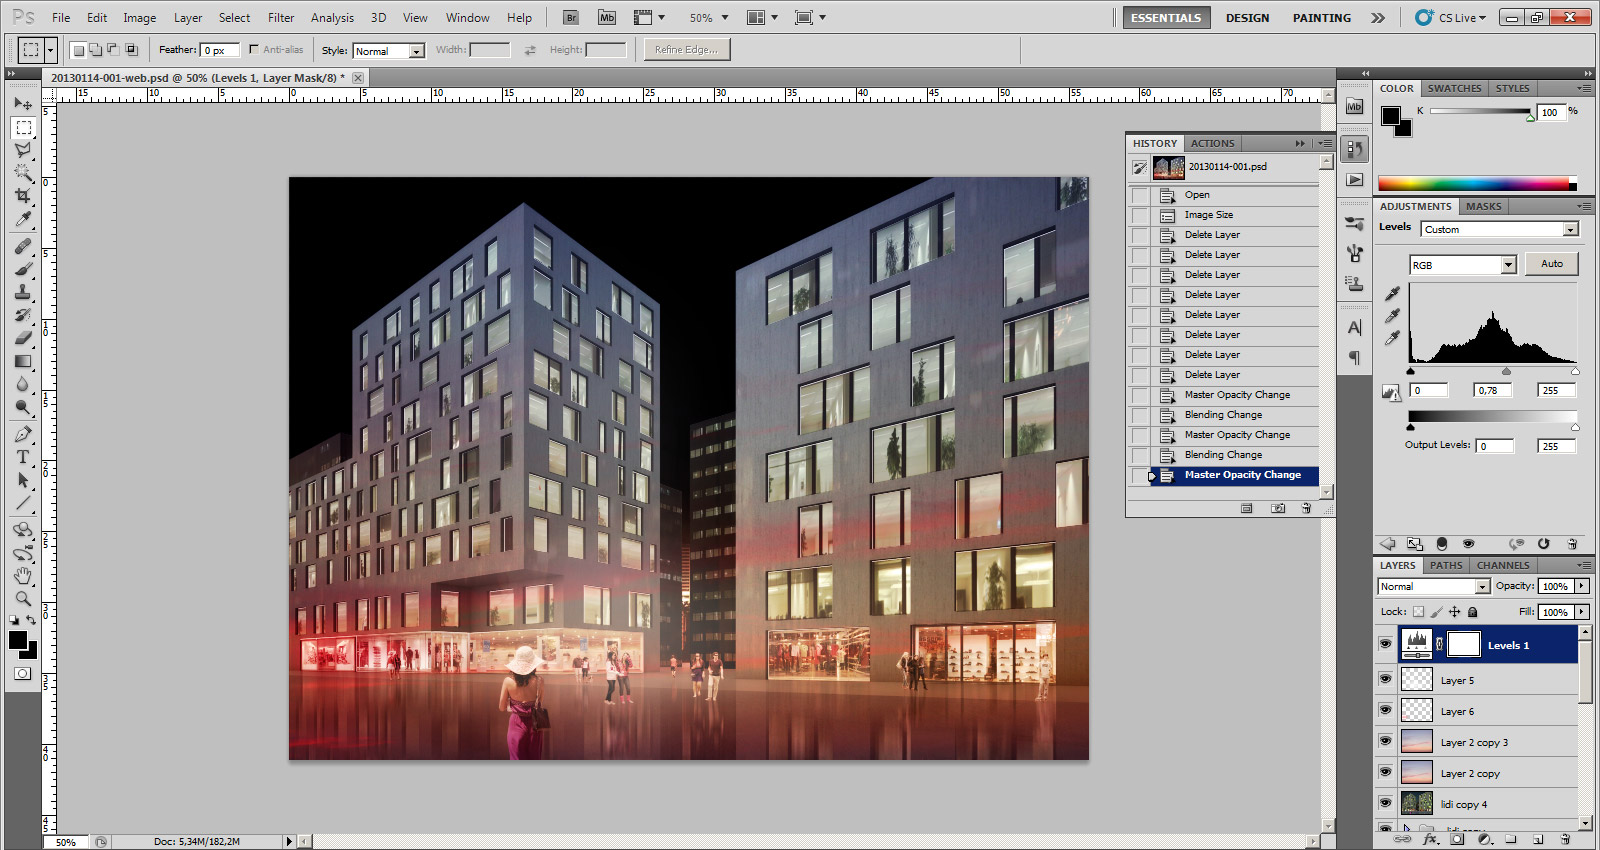
This is it :-). We hope you can find this tutorial useful for your quick renderings.